
My homepage now runs on OpenBSD with httpd(8) and Let's Encrypt via acme-client(1). I previously hosted it on GitHub Pages and then eventually moved to Cloudflare Pages because both options were free and easy. Free and easy is cool, and I understand that writing software full-time leaves us wanting absolutely nothing to do with computers after we punch out, but lately I have been missing the do-it-yourself web that I grew up with. Some of my favorite times growing up included installing and configuring UNIX-based operating systems and spending hours trying to understand how computers worked. I even met one of my closest friends online through a FreeBSD UNIX shell account forum more than 20 years ago.
So, in that vein, I wanted to write something on how you can get up and running on OpenBSD with DigitalOcean for $4 a month. Well, really, it's $4.24 after tax but that's still pretty good!
Download OpenBSD
There are a few different options when it comes to downloading OpenBSD, but the quickest method is to grab the miniroot image.
curl -O -O https://cdn.openbsd.org/pub/OpenBSD/7.9/amd64/{miniroot79.img,SHA256}
Confirm that the checksum of the image is correct.
sha256sum -c --ignore-missing SHA256 miniroot79.img
miniroot79.img: OK
Sign Up for DigitalOcean and Upload miniroot79.img
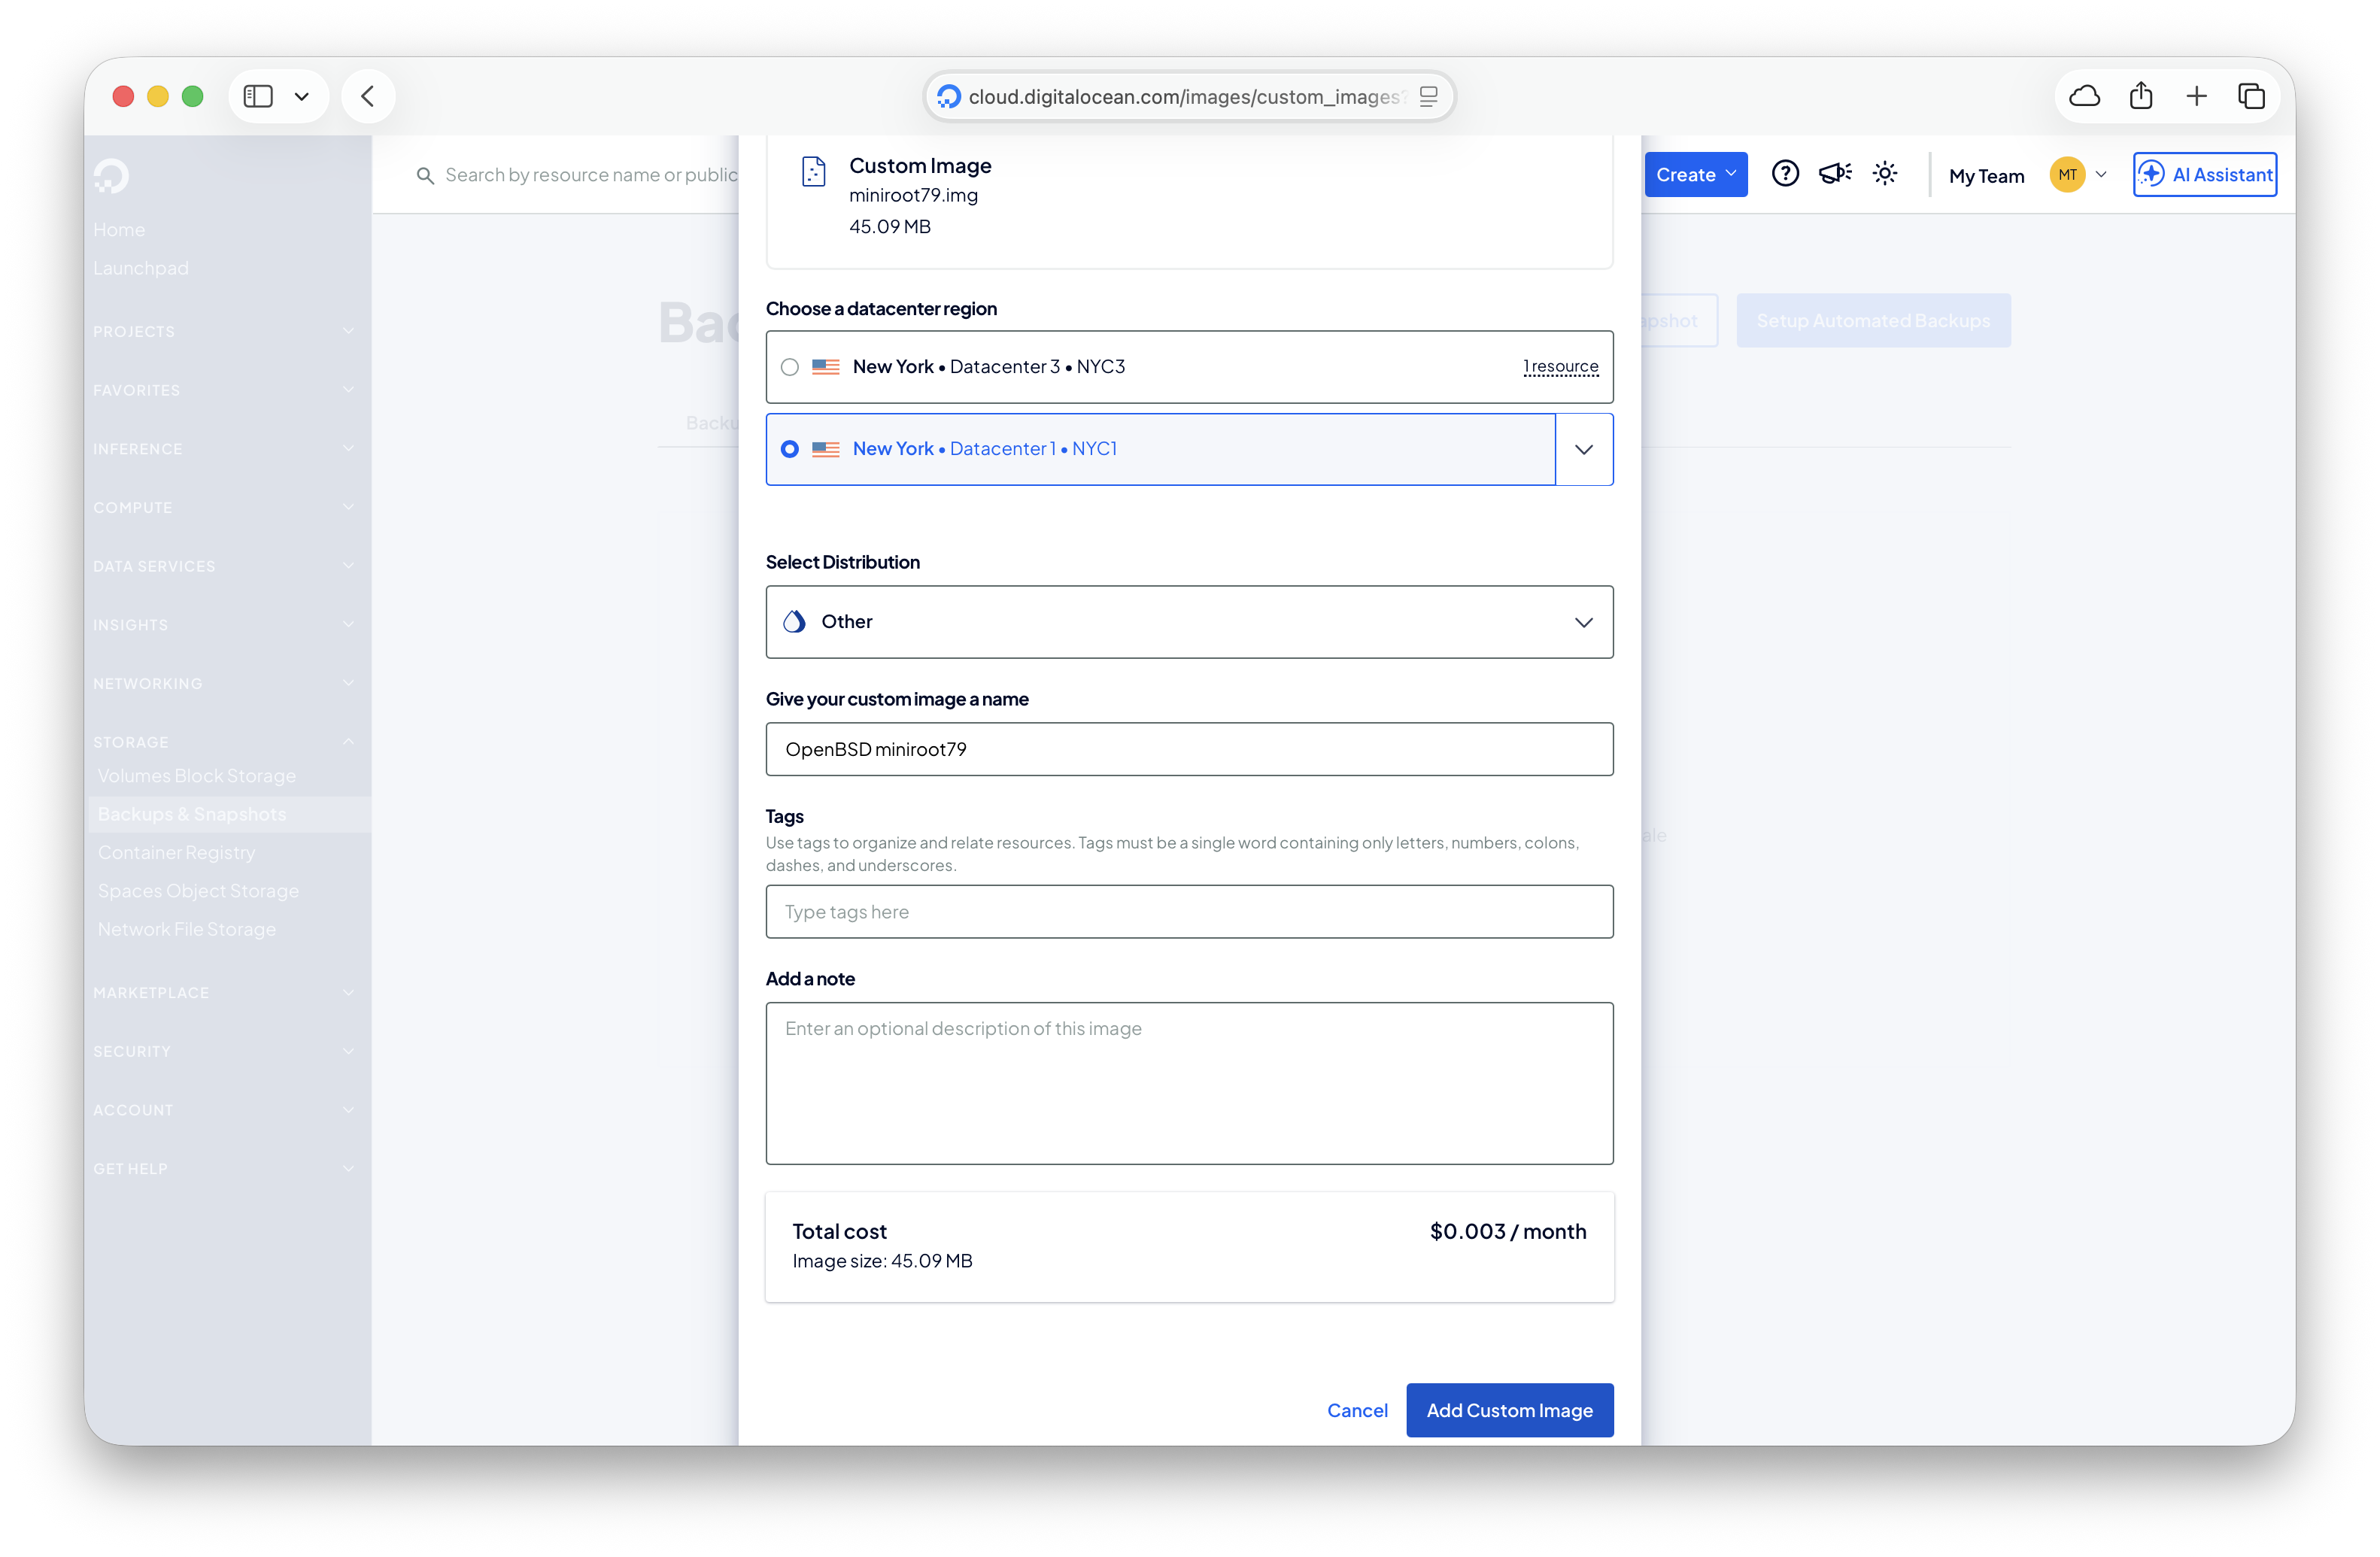
Once you are signed up and logged in to DigitalOcean, go to Backups &
Snapshots under the STORAGE section in the left-hand navigation. Click
Upload an Image. Select the miniroot79.img file we downloaded
earlier. Select a datacenter that makes sense for you. Select Other
for the distribution (Hey, DigitalOcean, why no BSD distribution?).
Give the custom image a name, something clever like "OpenBSD
miniroot79". Finally, click the Add Custom Image button.
Note on Custom Images
DigitalOcean will charge you for hosting custom images. Make sure you come back to this page to delete the image after your server is up and running.
Create a Droplet
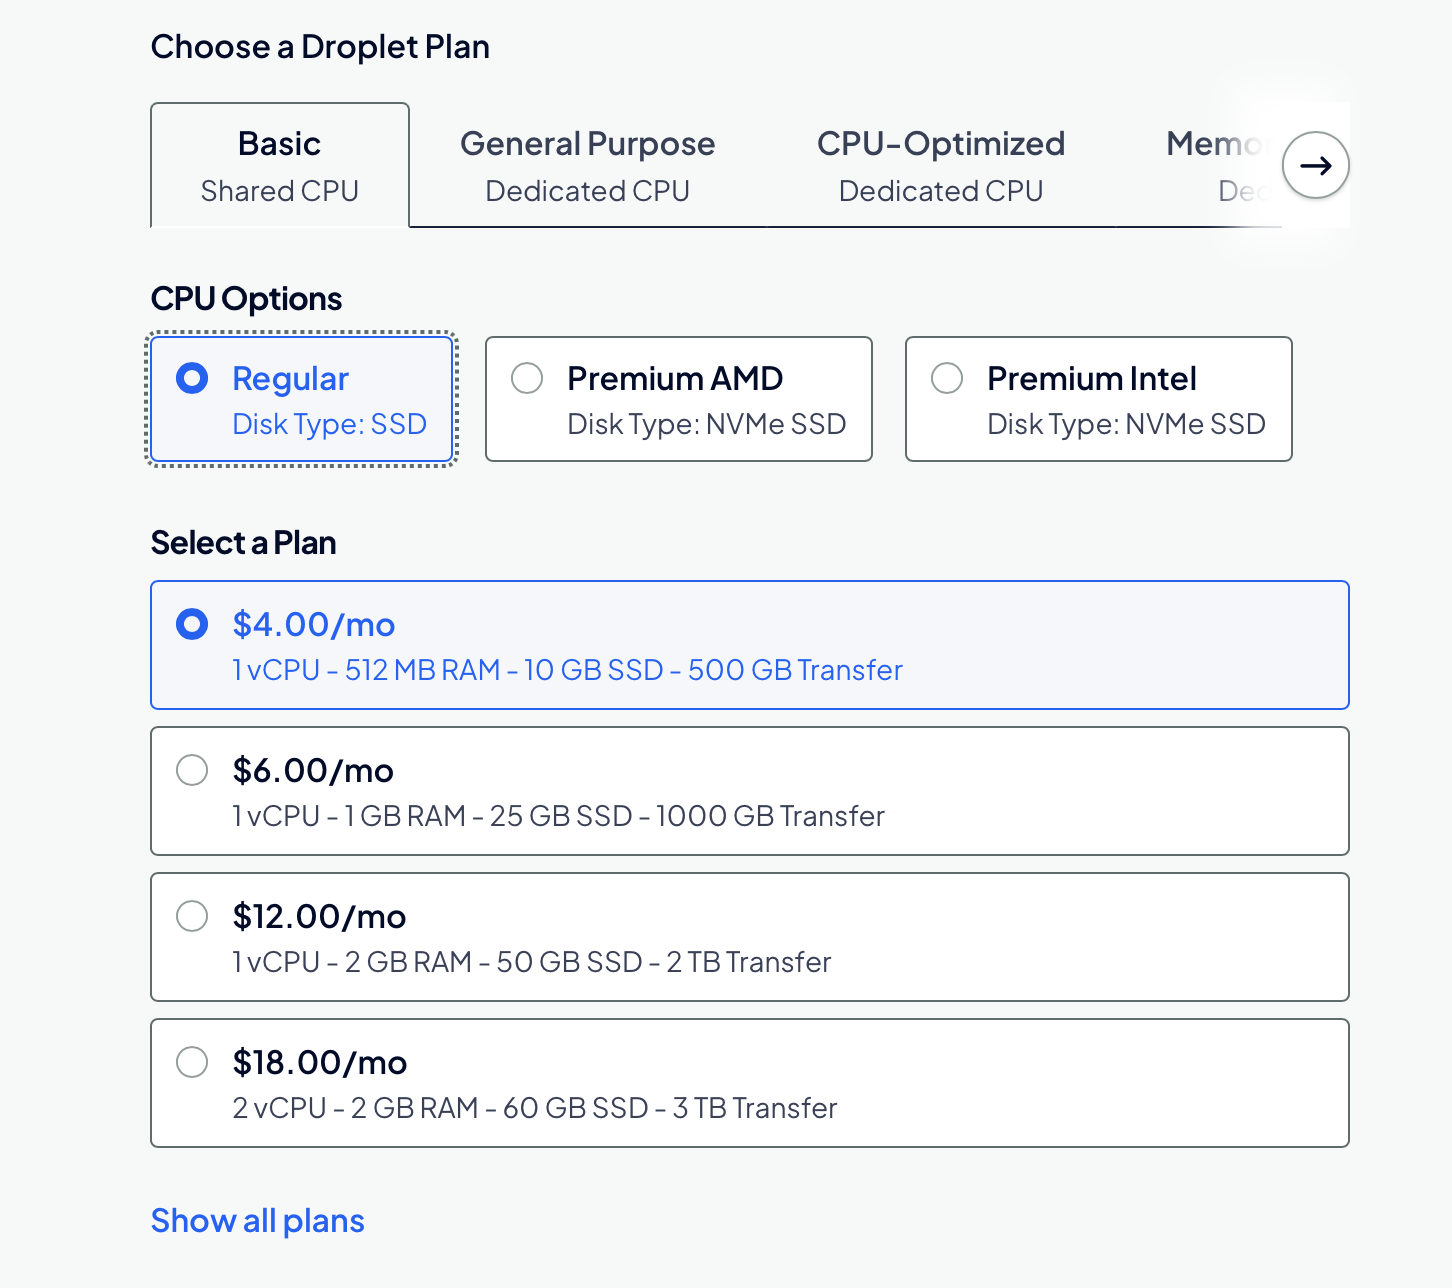
Click Droplets under the COMPUTE section in the left-hand nav. We are going to create the basic droplet that includes 512MB memory, 1vCPU, 500GB transfer, and 10GB of disk space.
Select a datacenter region that makes sense for you.
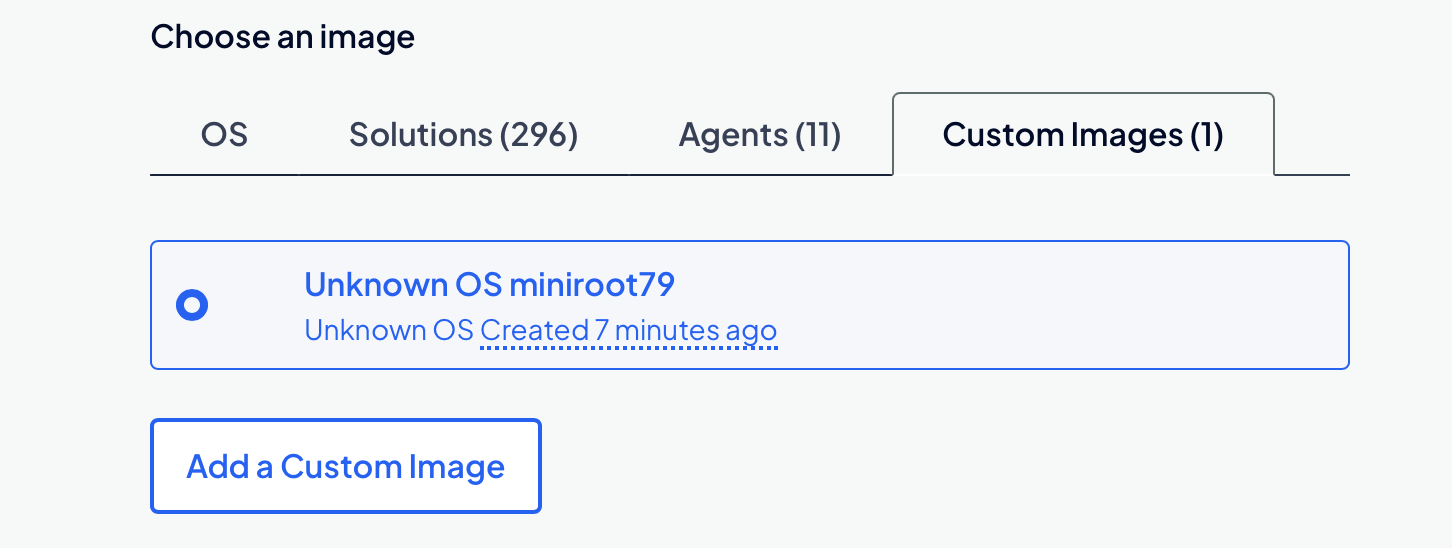
Choose the miniroot79.img file we uploaded earlier under the Custom Images tab.
Choose the Basic plan.
Under the Authentication section add an SSH Key. DigitalOcean does not actually add this key but it is required to create the droplet. Follow the instructions on how to create and add an SSH key.
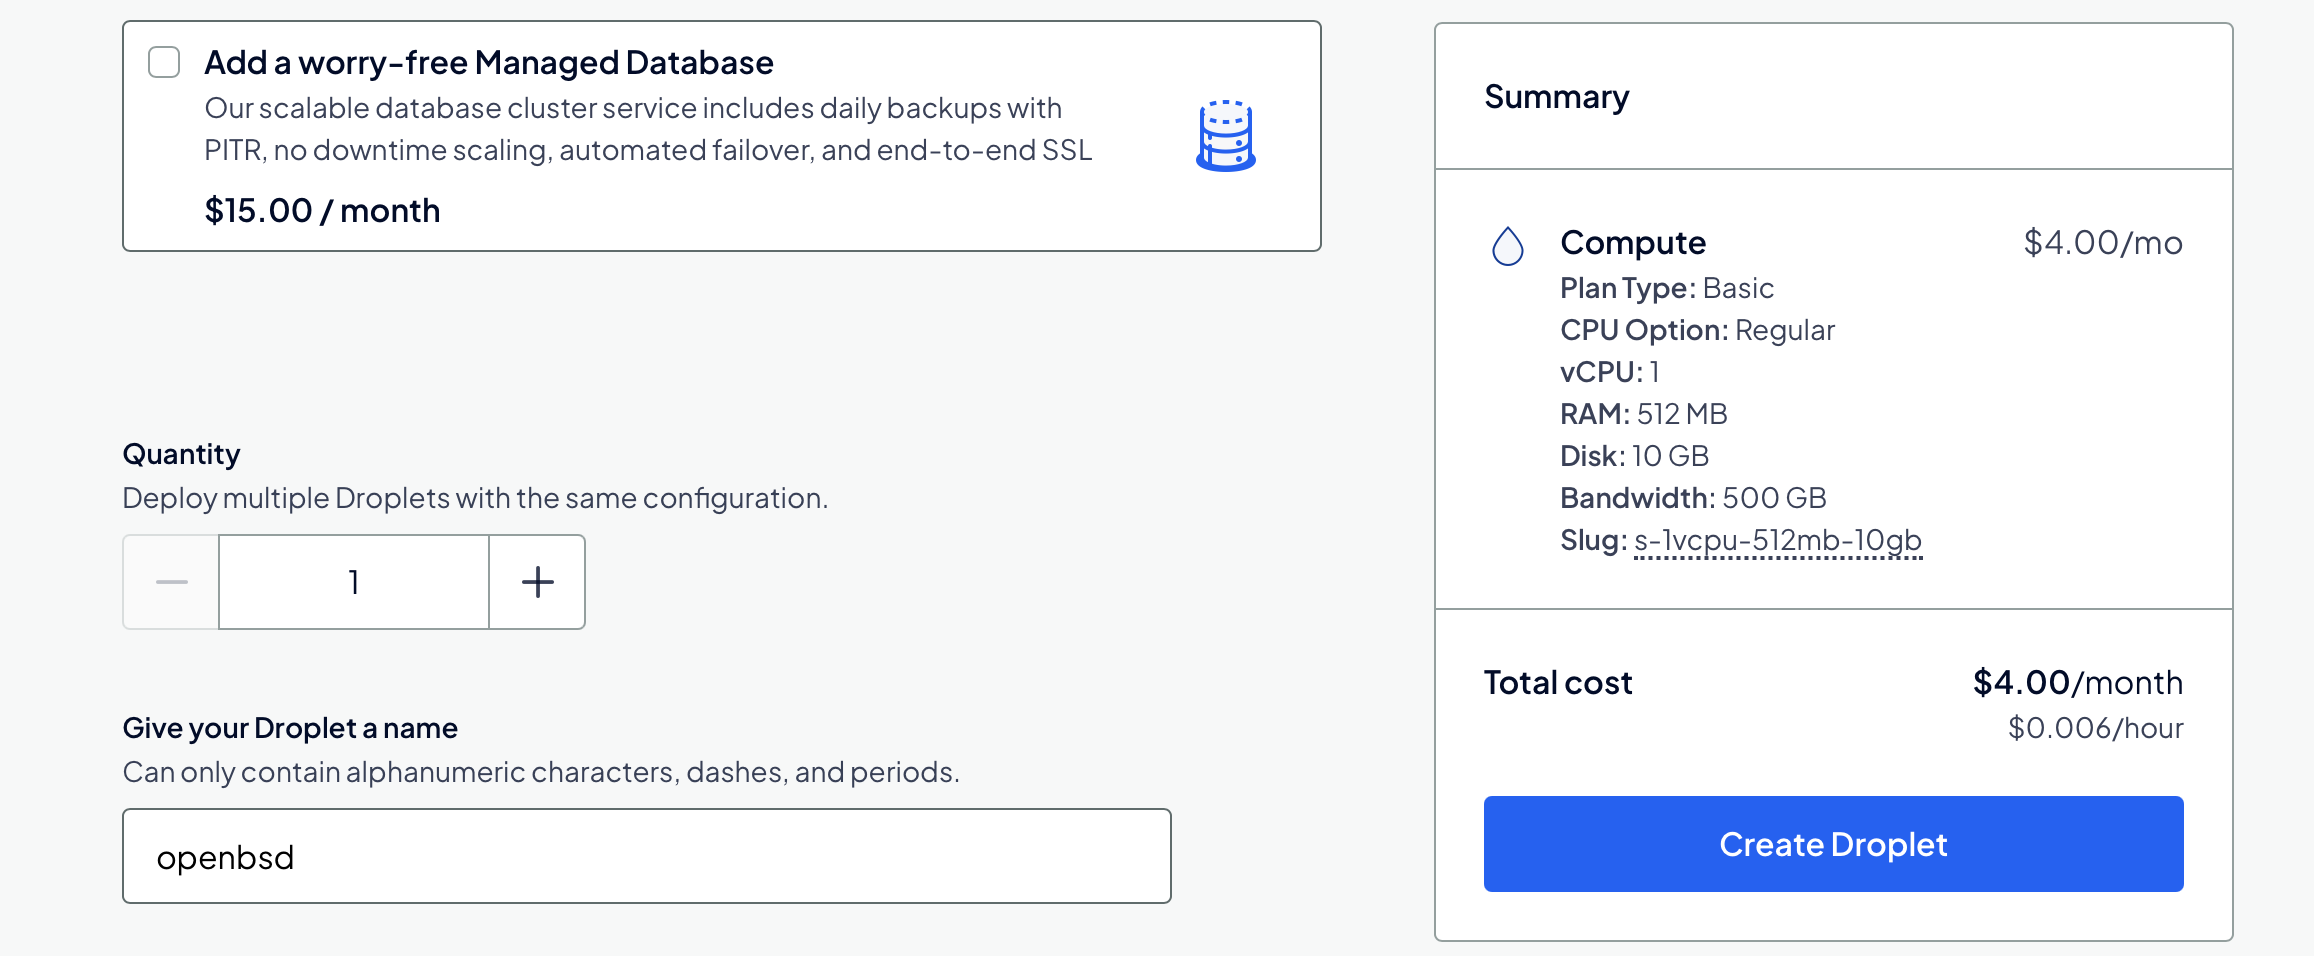
The rest of the options are up to you. Just a heads up, though, I have noticed that it won't let you create the droplet with IPv6 enabled. Finally, give your droplet a name and click Create Droplet.
Notice the total cost of $4.00/month... nice, dude.
Install OpenBSD
Go to your newly created droplet and click the Web Console button at the top right. You will see a modal pop-up about updating the droplet console. Just click the Launch Recovery Console button.

This opens a new browser window that drops you into a console of the booted up
miniroot79.img. Look at the white on blue text. Beautiful.
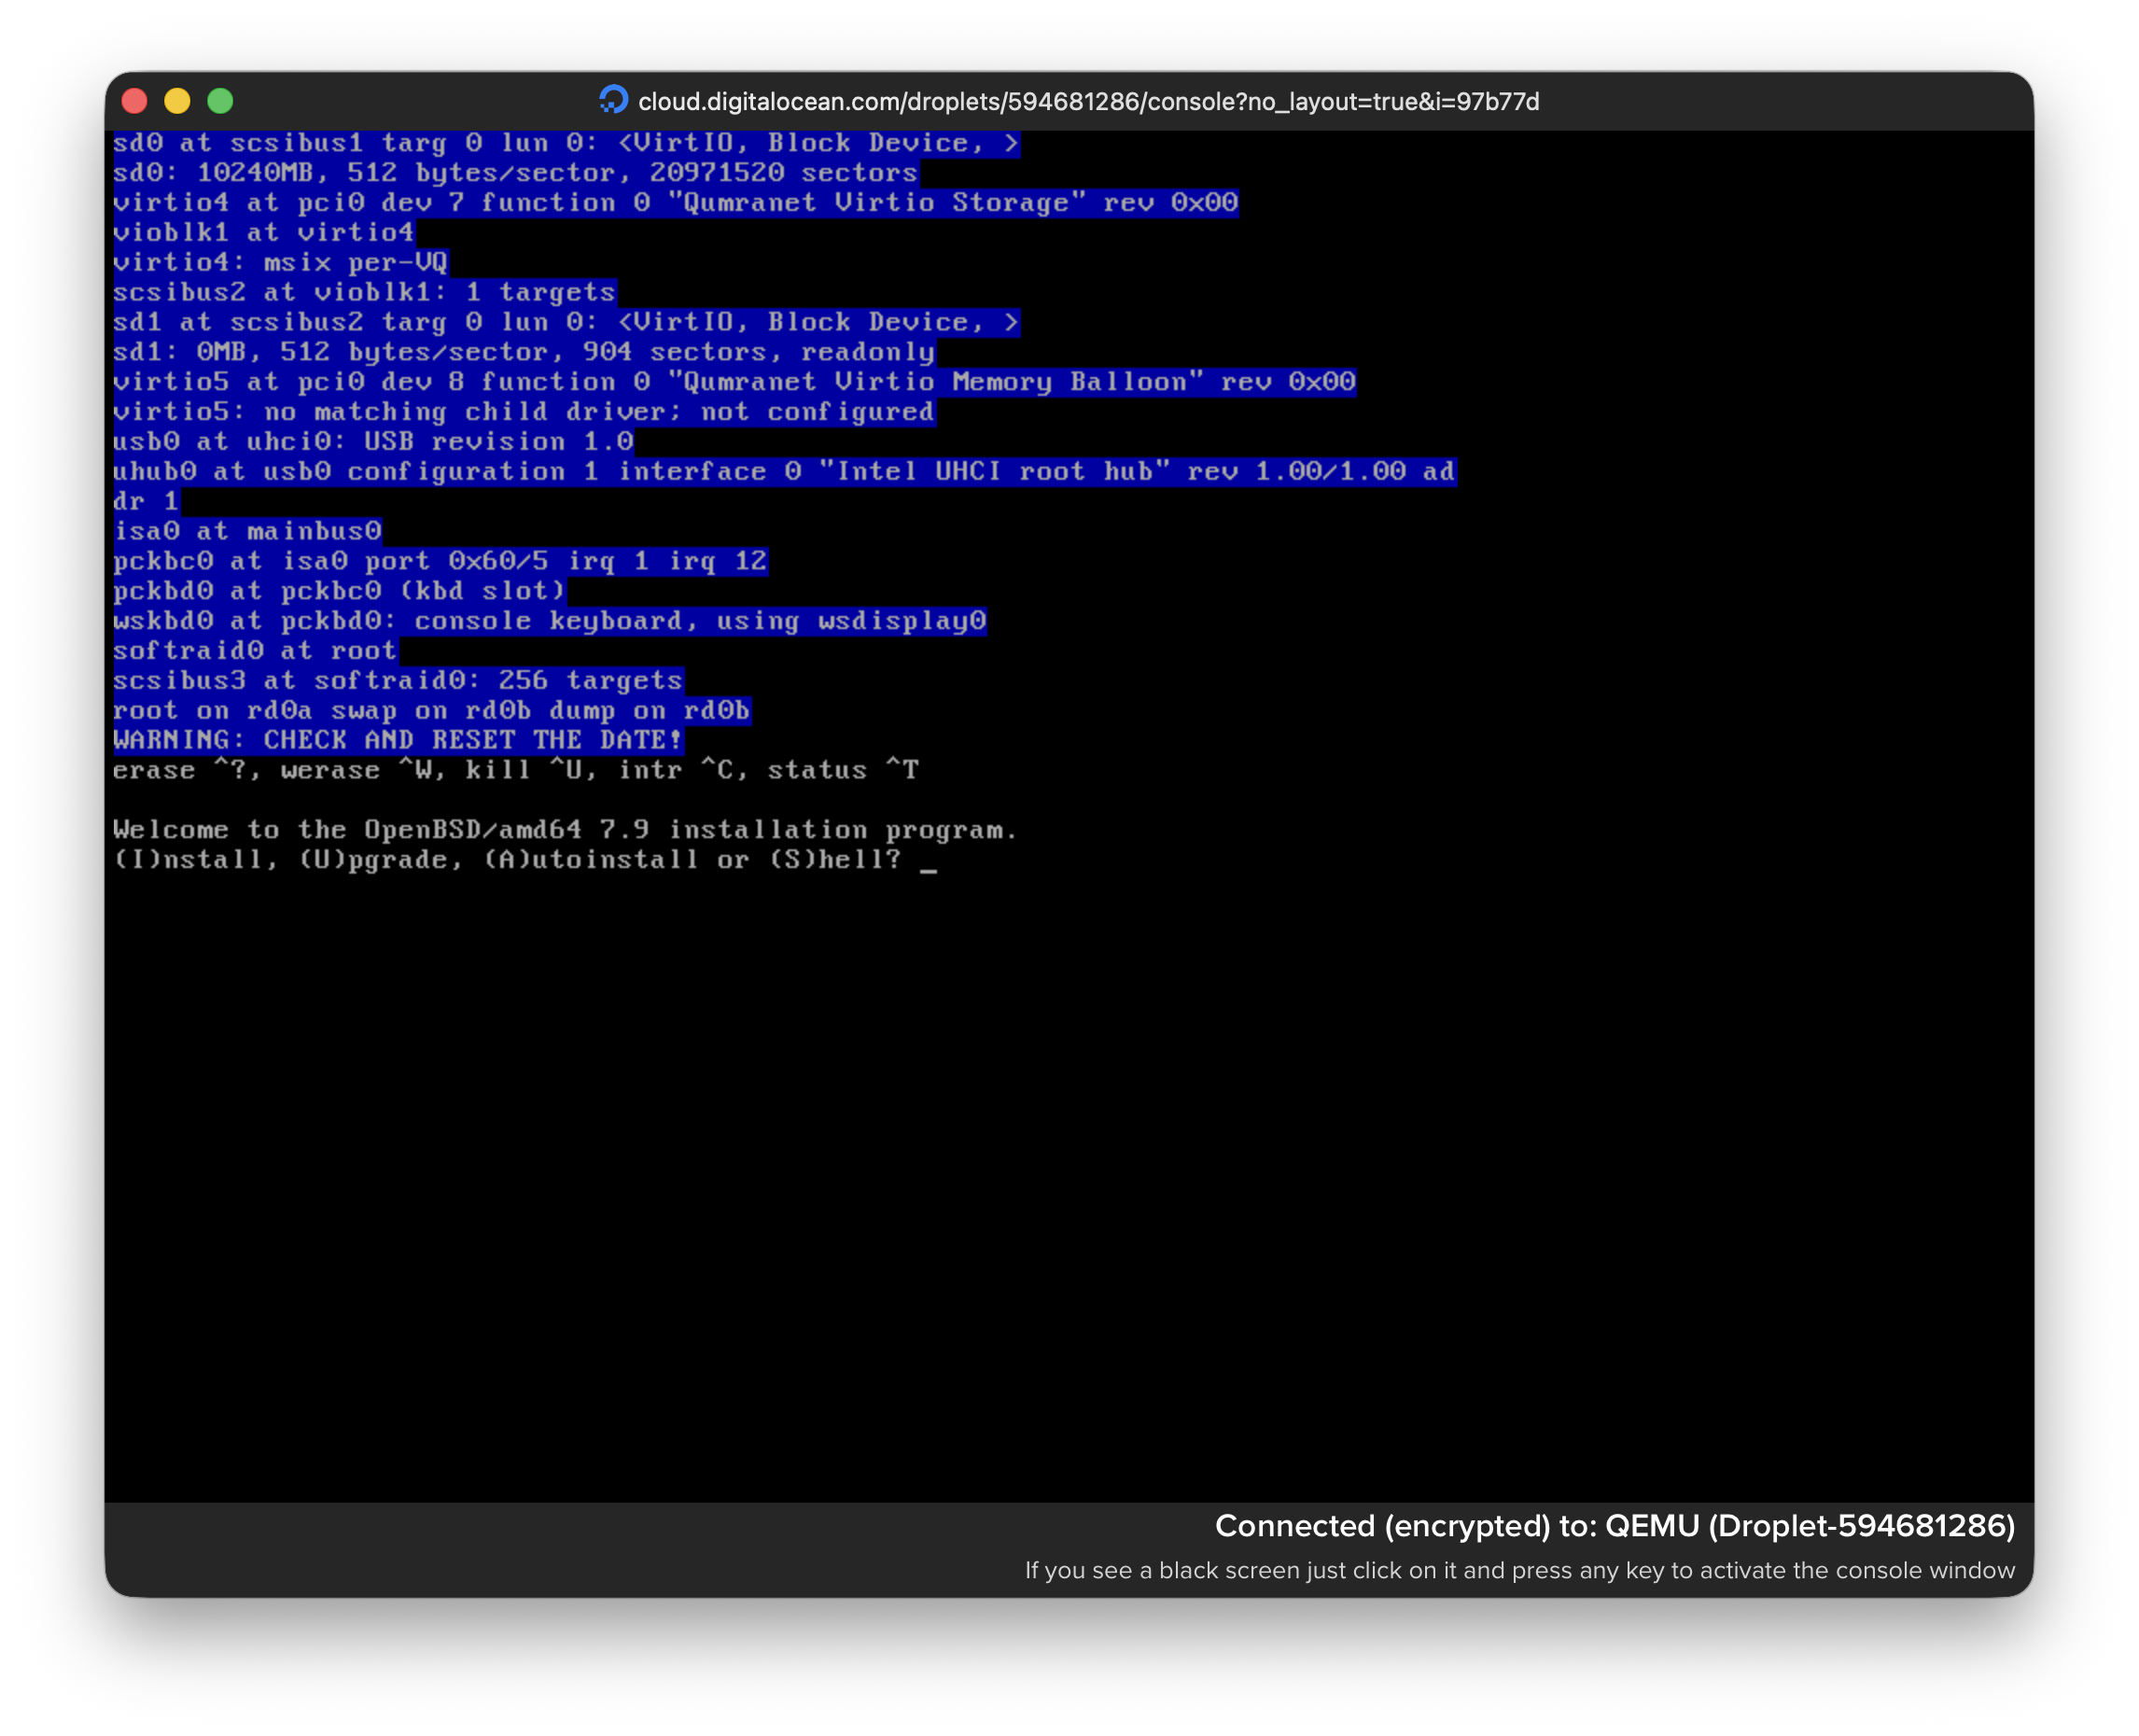
Type i and press return.
For most of these questions we can go with the default option. Please select whatever makes sense for you, but I will try to walk you through a very basic setup. Just make sure you give your server a cool hostname.
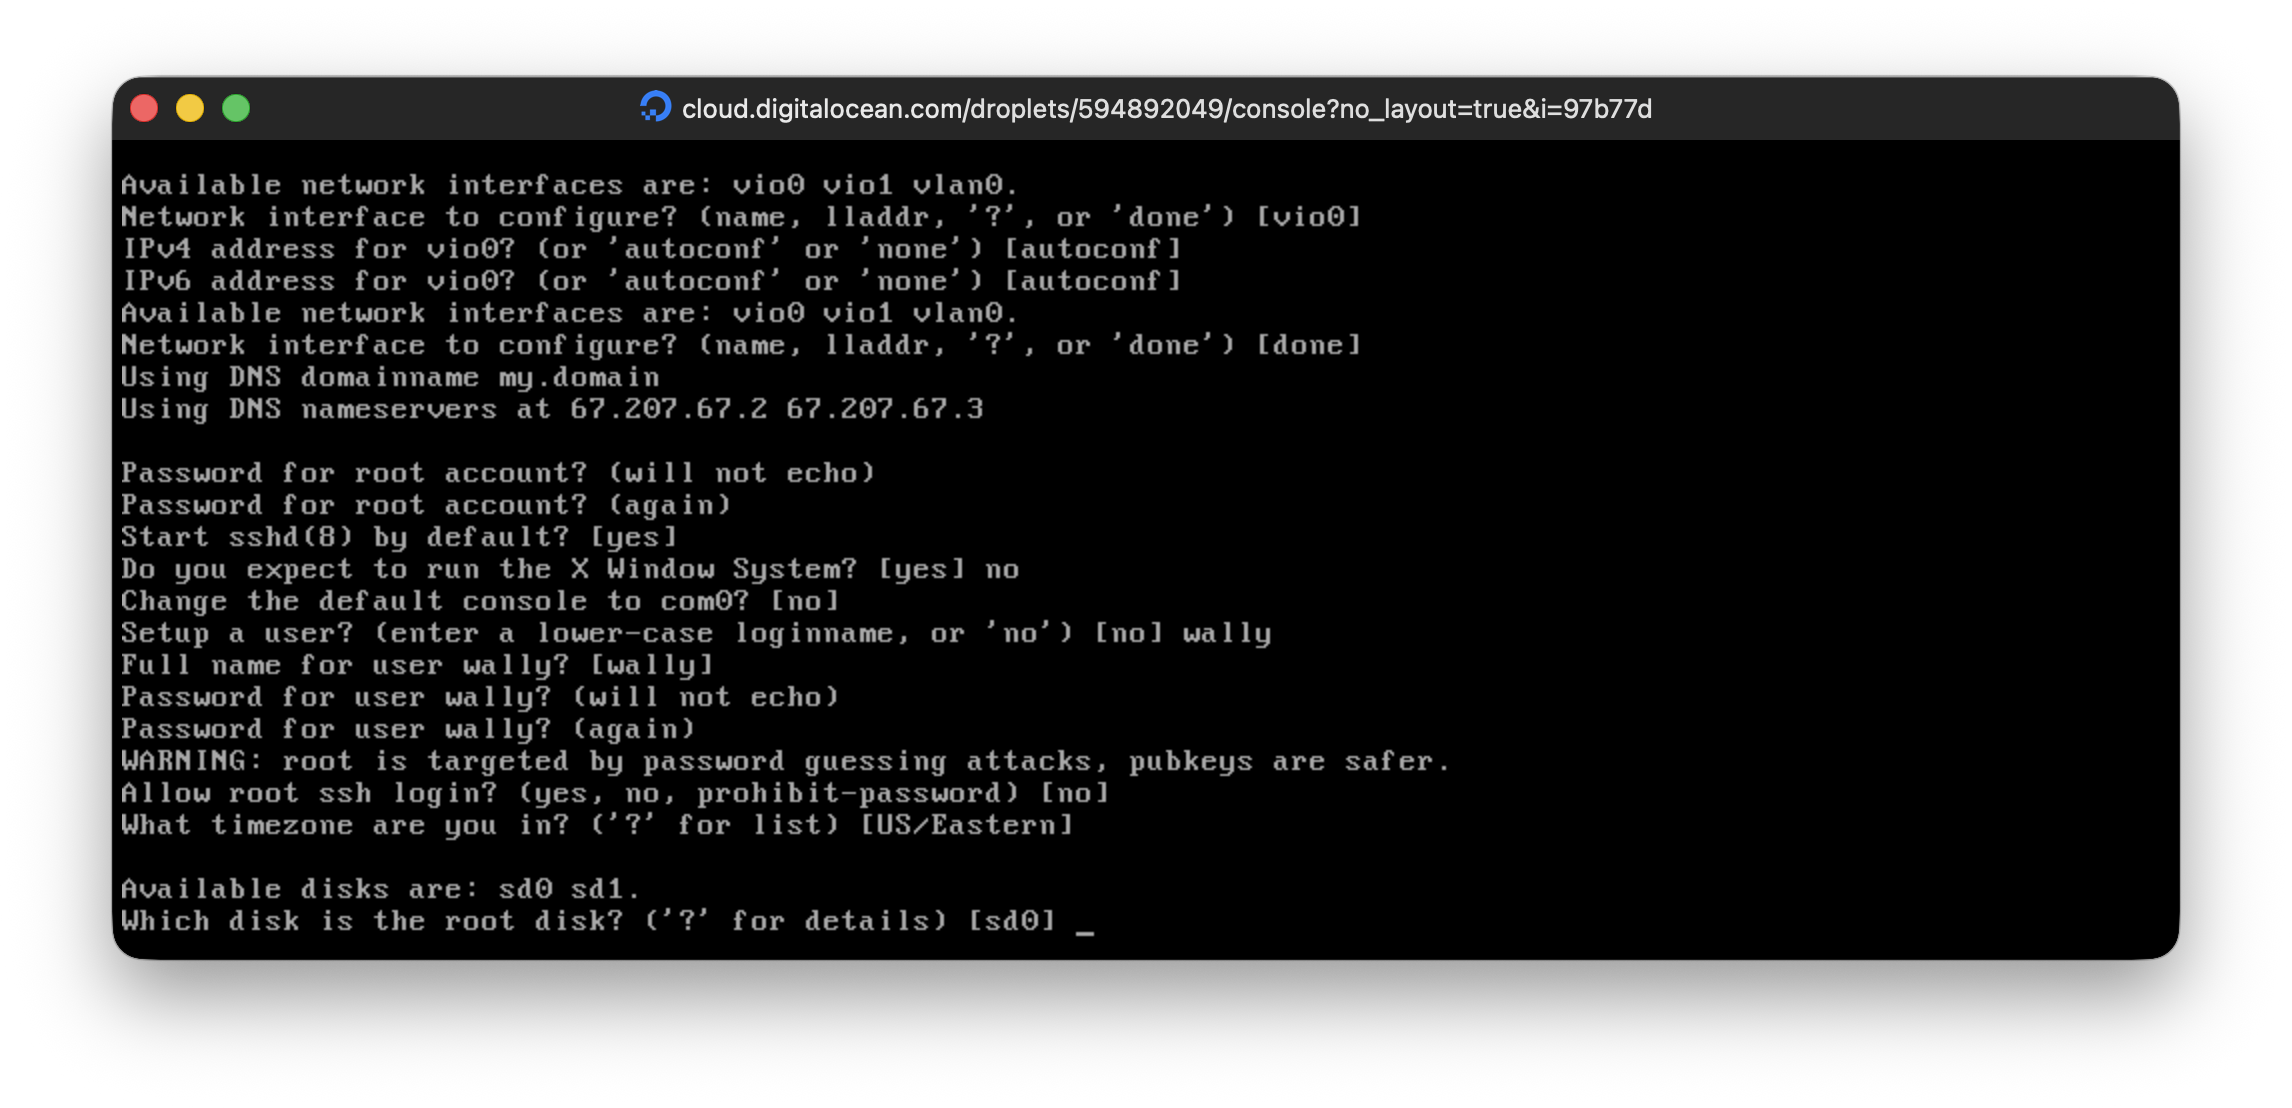
- Select the
vio0network interface. - Select
autoconffor IPv4 and IPv6 addresses. Select[done]afterwards because we can configure other interfaces later. - Make sure you create a secure password for the root account.
- We do want to start
sshd(8)by default so we can SSH into the server after installation. - We do not expect to run the X Window System. This is a basic server, dude. Type no.
- Don't change the default console to
com0. - Create a non-root user for yourself. Make sure you create a secure password. Type in your username.
- Do not allow root SSH login.
- Select the time zone appropriate for you.
- Select disk
sd0for the root disk. You can type?if you wish to see the size of the disks. - If you want full disk encryption, select
pto encrypt the disk with a passphrase.
Note on Full Disk Encryption
This will require you to log in to DigitalOcean and launch the web console on the droplet to type in the passphrase every time you reboot the server. As far as I know there is no fdesetup authrestart equivalent on OpenBSD so installing kernel patches that require a reboot involve a little more work. To me this isn't a big inconvenience. There may also be arguments around the security of typing into the web console.
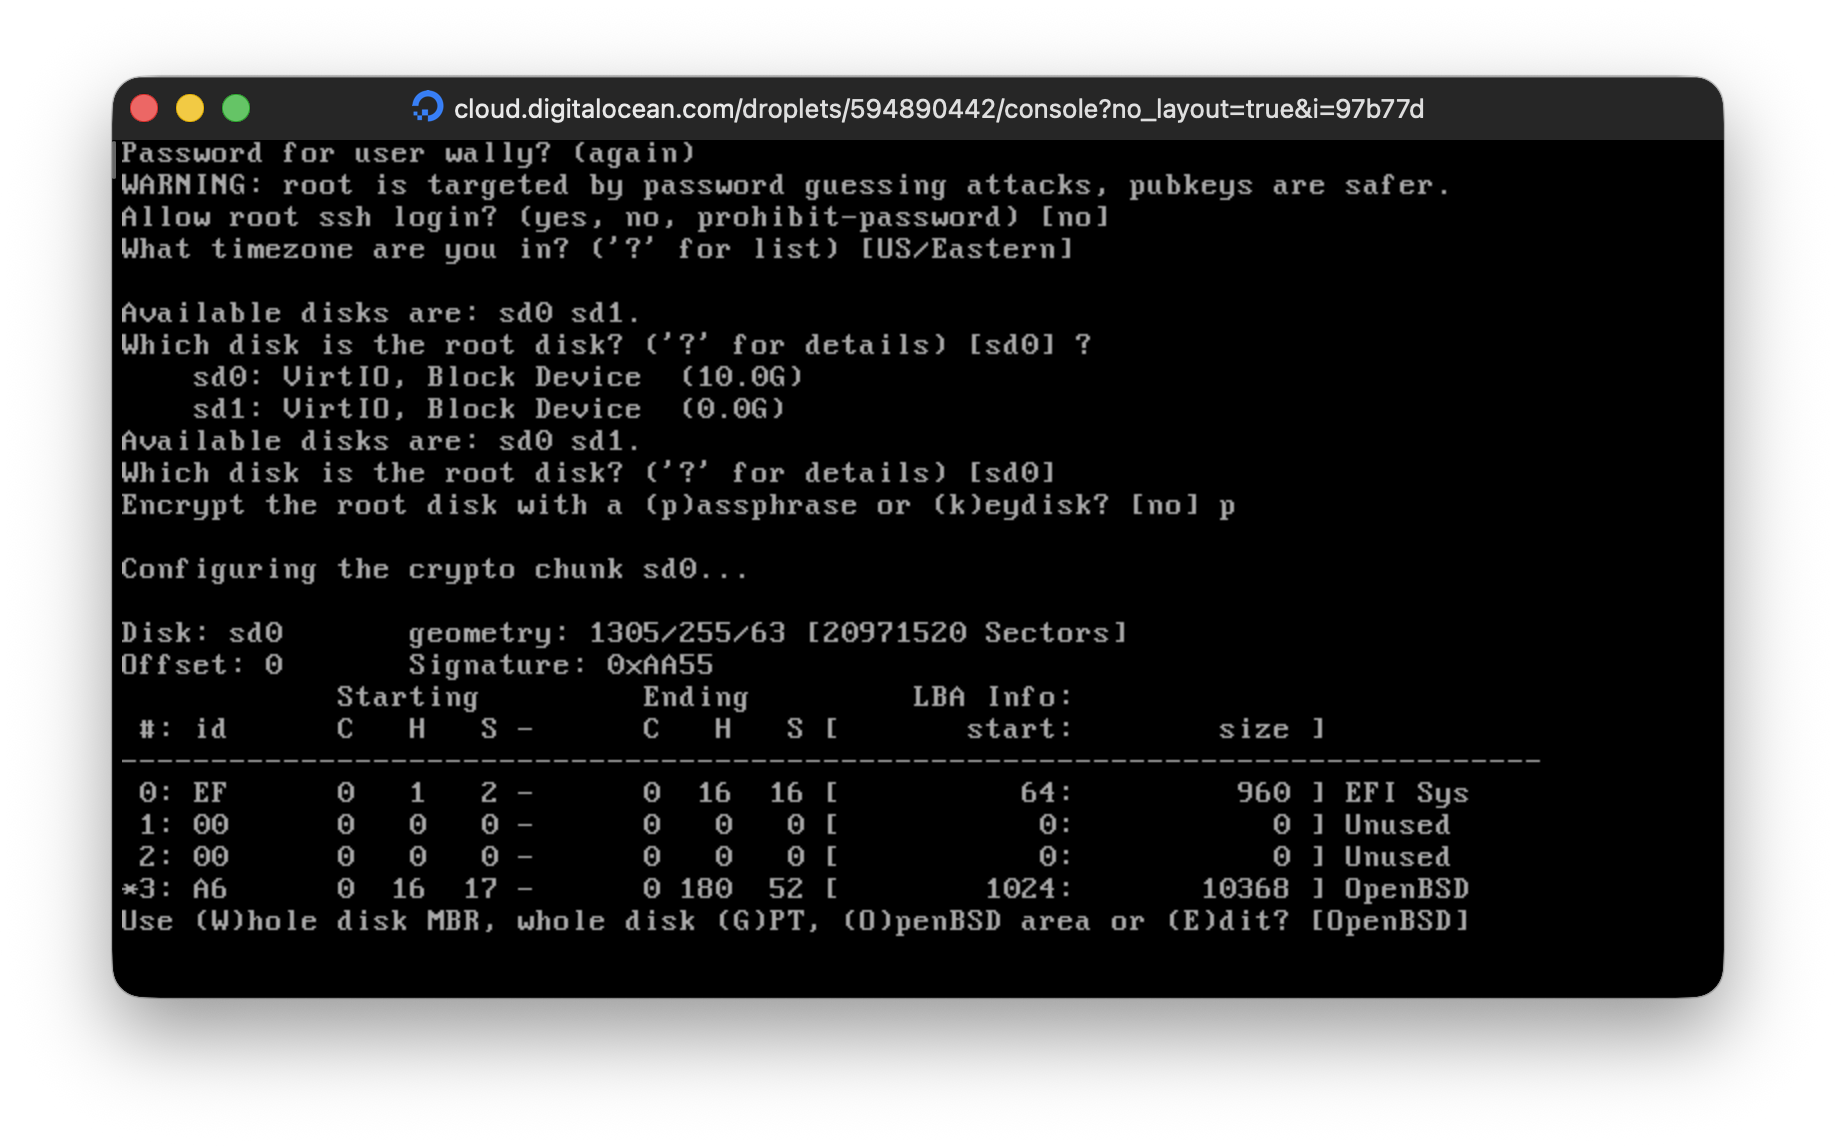
- Use the
(W)holedisk MBR. - Type in your secure passphrase for the full disk encryption.
- Use the
(A)utolayout. - No need to initialize
sd1. Press return for[done]. - Install the sets!
- Use
http. - We probably don't need a proxy but it's up to you.
- Use
?to see a list of mirrors. Find the number for the mirror closest to the datacenter you selected for the droplet. - Press
qto get out of the pager. - Type in the number of the mirror and press return. You should see the mirror in the brackets. Press return.
- Use the default directory
pub/OpenBSD/7.9/amd64.
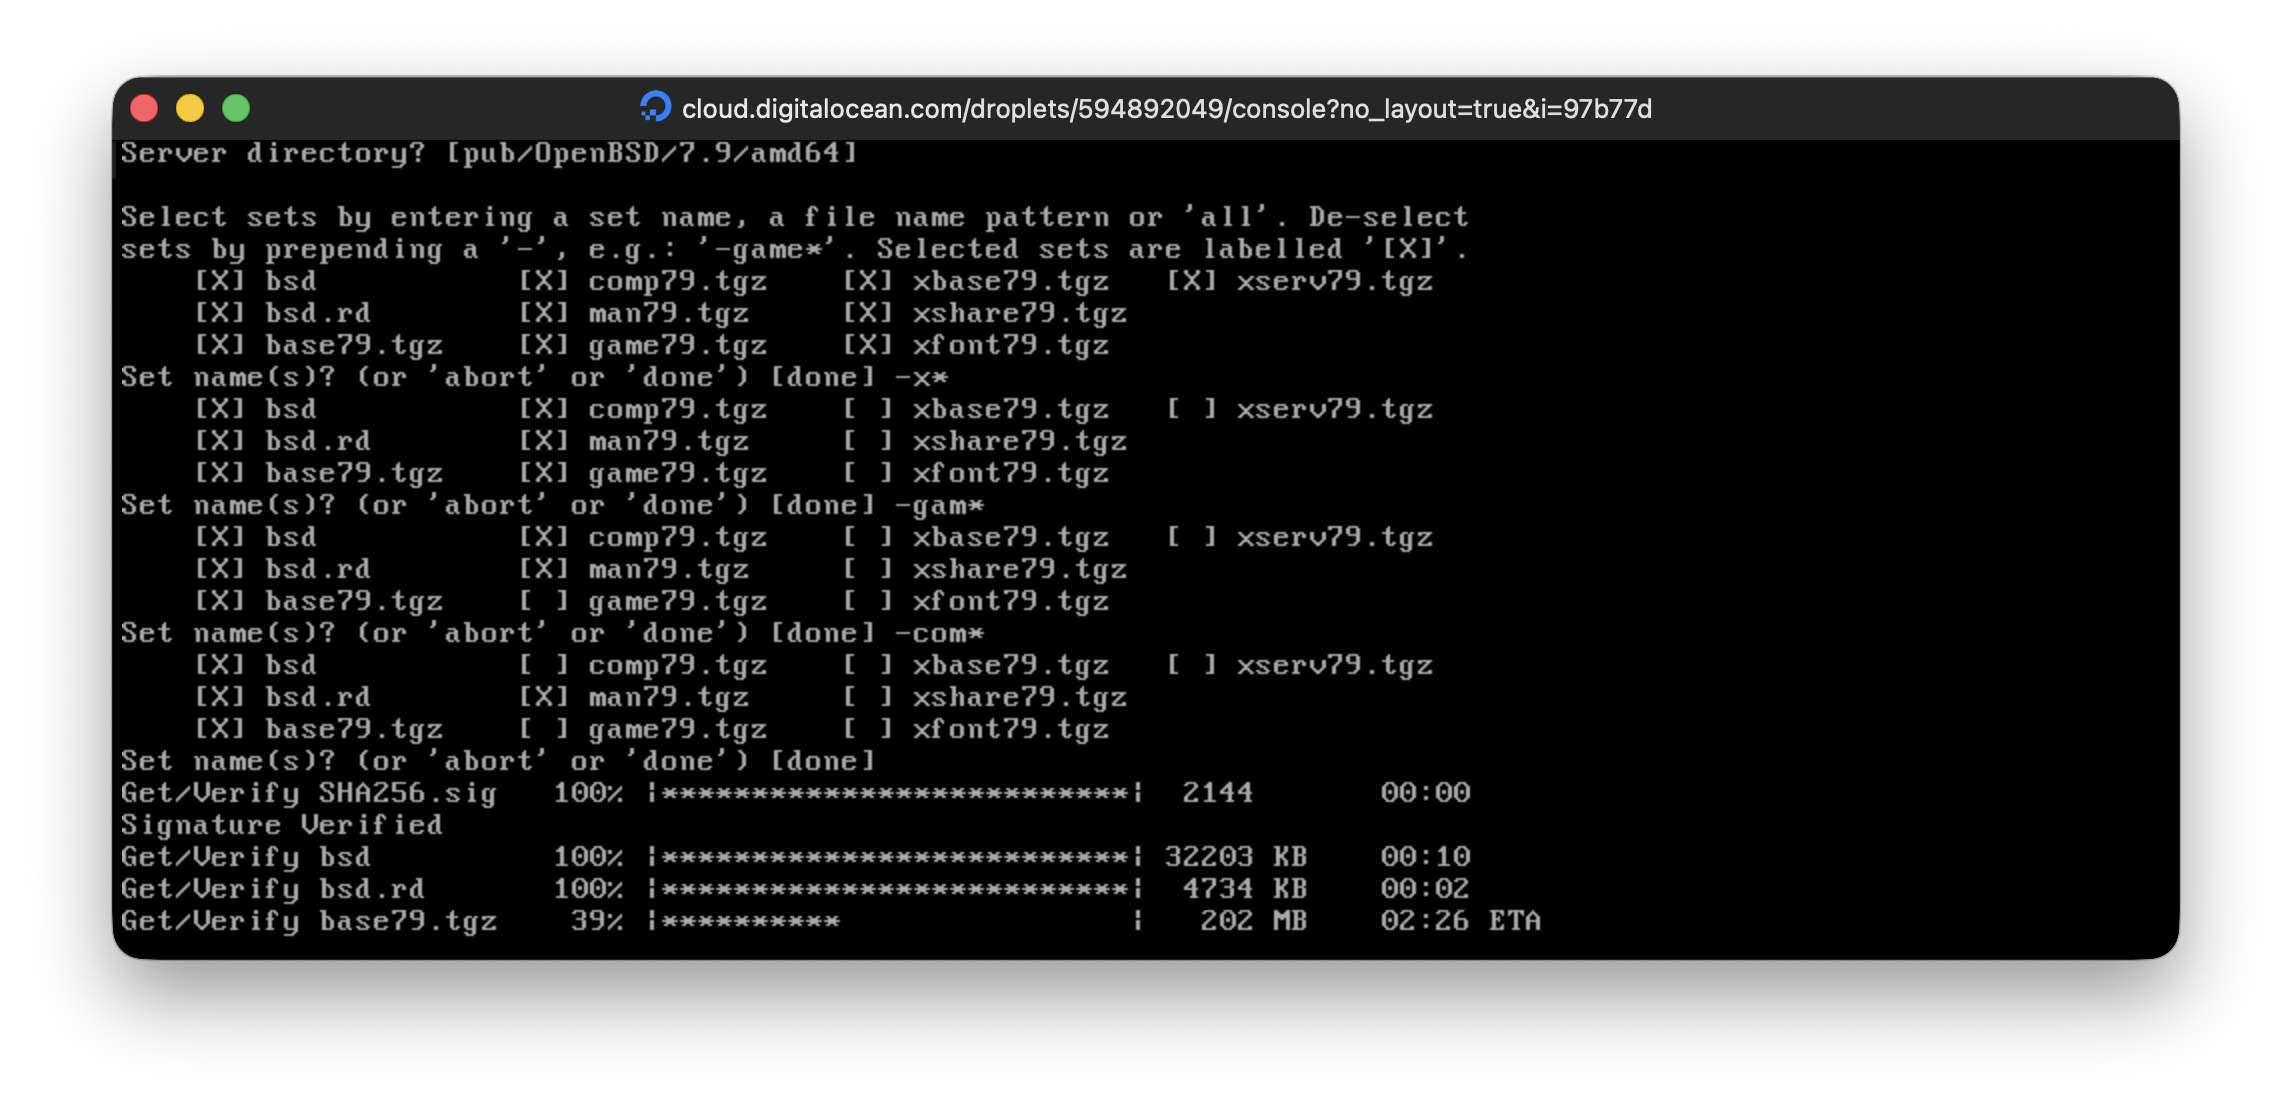
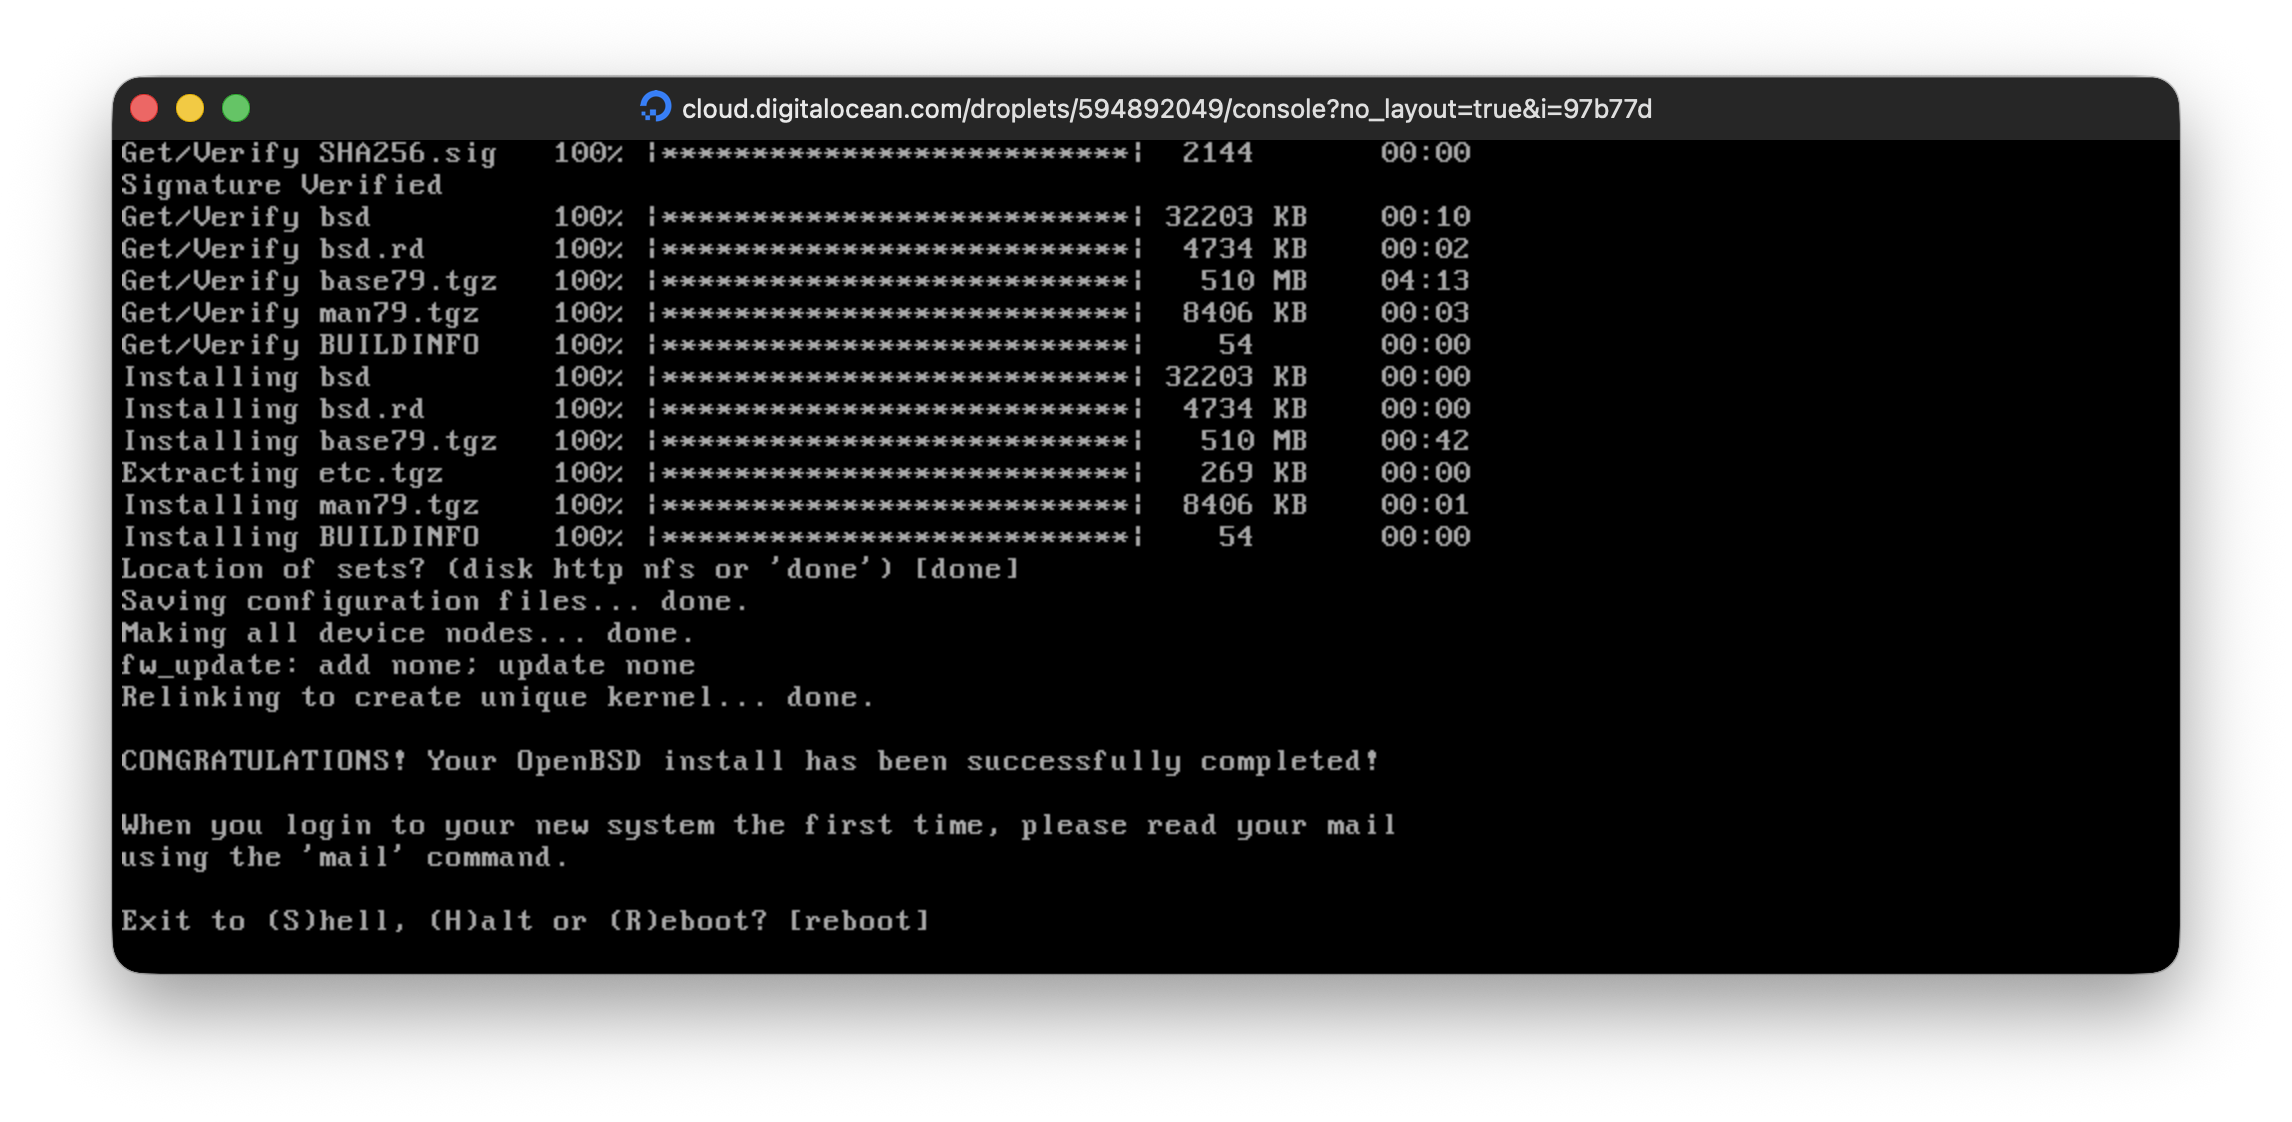
Since this is going to be a bare-bones web server we can remove most
of the sets. You can type in -x* to remove all of the X server
sets. Let's also remove the game -gam* and compiler -com* sets
too. This should leave us with bsd, bsd.rd, base79.tgz, and
man79.tgz. Press return since we are done. You should see signatures
verified for the sets as they download. After the sets install we can
select [done].
OpenBSD is now installed! Press return to reboot.
If you decided to use full disk encryption you will be prompted for
the passphrase now. You should see the boot> prompt after
successfully entering the passphrase. You can either press return to
boot or wait for the system to boot automatically. From here you can
either continue to use the Web Console or SSH into the server. I would
recommend SSH since a terminal is a bit more comfy. Go to the
droplet and copy the public IP address and SSH in! Make sure you use
the non-root user we created during installation since we turned off
root SSH login.
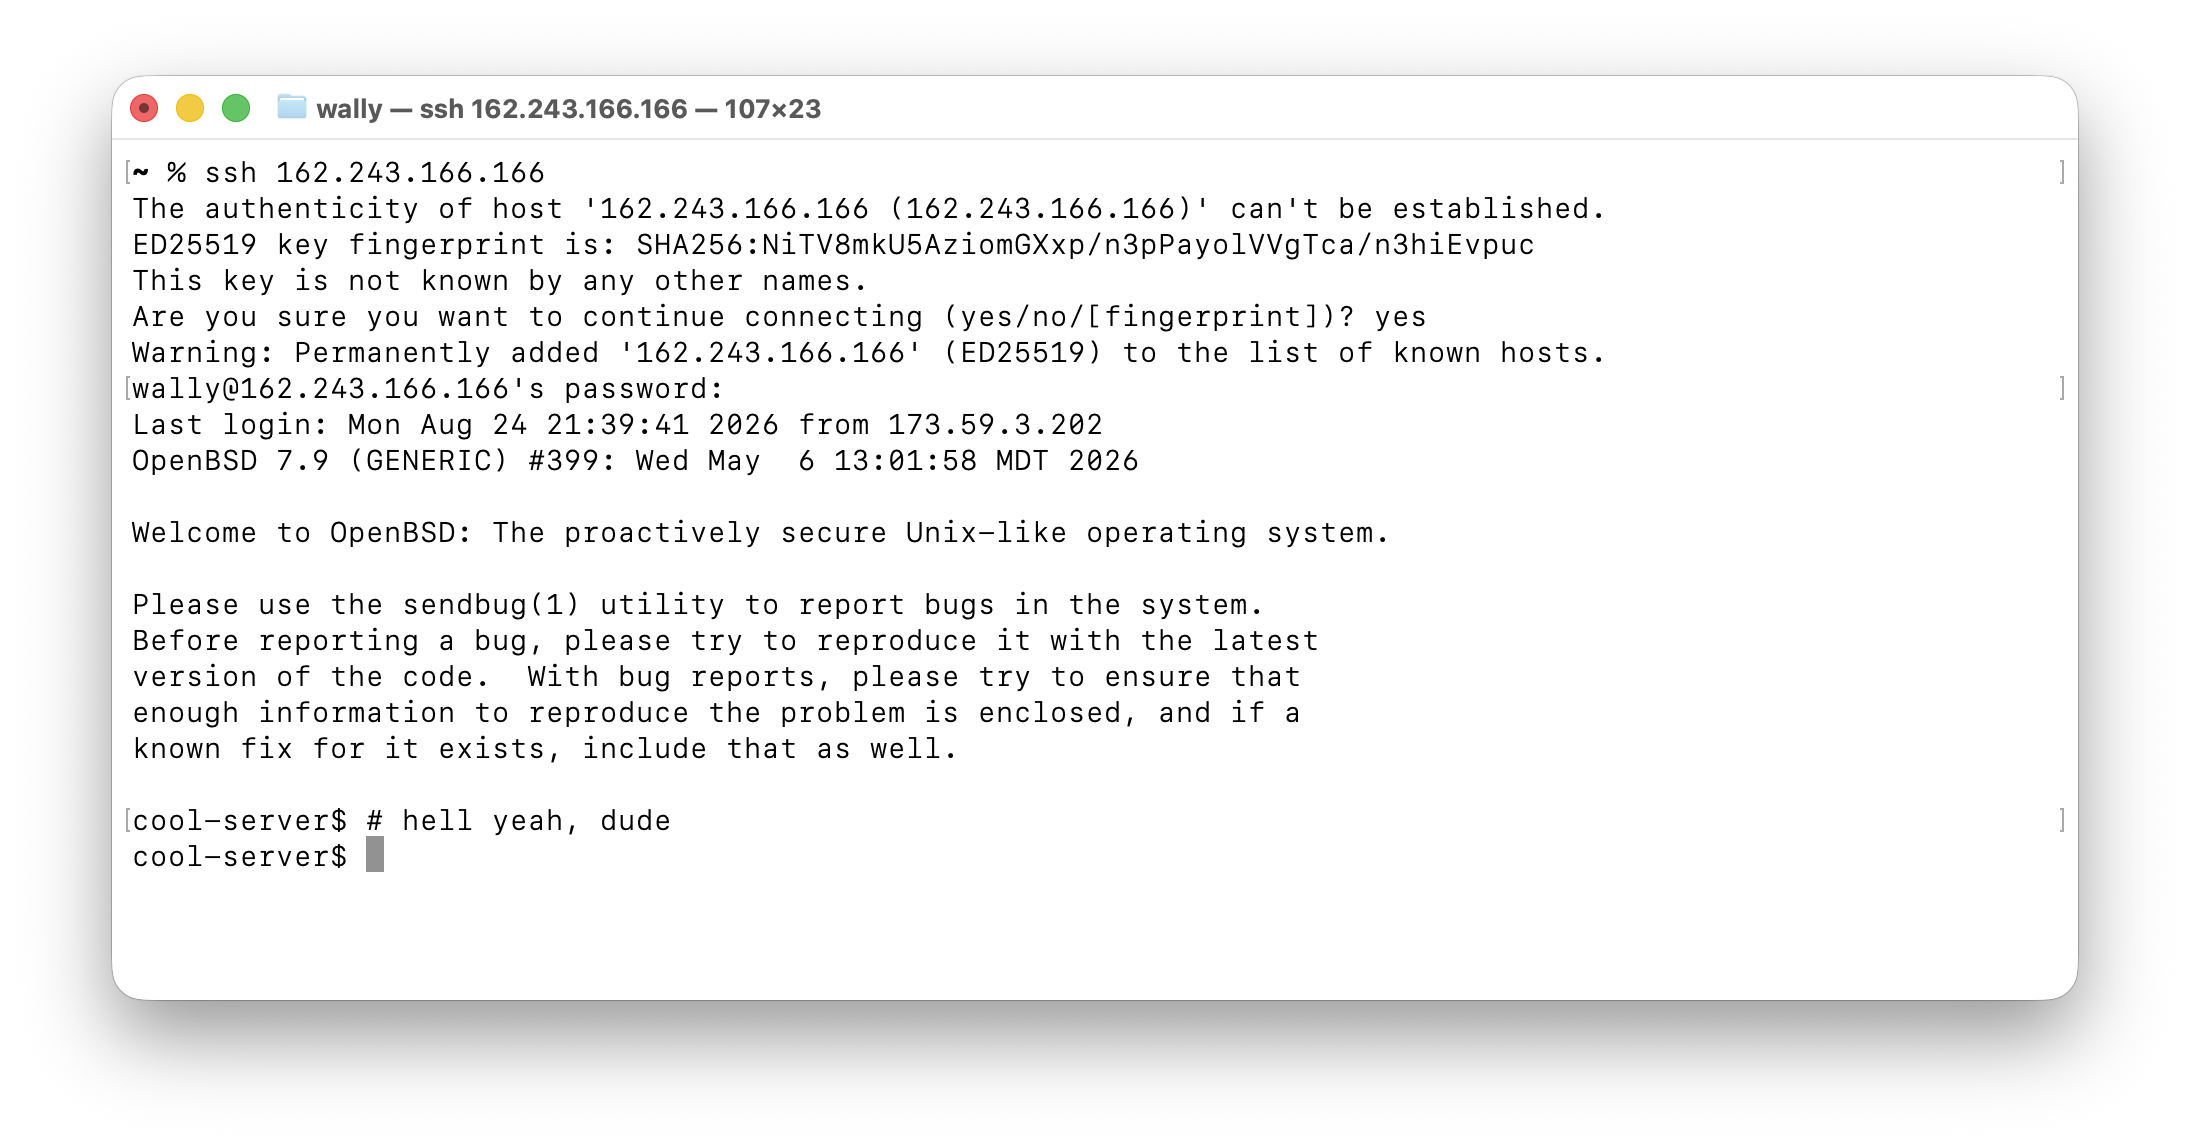
You are now SSH'd into your lovely OpenBSD server running on DigitalOcean for $4/month.
Now would be a great time to head over to OpenBSD's FAQ
Page to learn more about the
system. You maybe have seen it after logging in and running mail,
but in case you missed it, run man afterboot for things to check
after the first complete boot. Finally, I would recommend copying your
public SSH key to the server and turning off
PasswordAuthentication
as a bare minimum.
If you have any questions please do not hesitate to reach out to me, even if it's just to say hello! You can find my contact details on my cool homepage https://wallyjones.com, running on a cool OpenBSD server.
Edits
-
Tue Aug 25 17:45:19 EDT 2026: In the curl request I originally wrote arm64 when I meant amd64. This has been fixed. Huge shoutout to Ben for catching this!
-
Wed Sep 2 21:41:41 EDT 2026: Removed mentions of and links to a resource that is not the best. Just read as many man pages as you can to learn more about OpenBSD or refer to https://www.openbsd.org.